How to replace motorcycle spark plugs?
The following article describes how to replace spark plugs on a Suzuki SV650S without disconnecting the cooling hoses or removing the fan.
Click on the photos to see them in a full-screen gallery.
When to change spark plugs in a motorcycle?
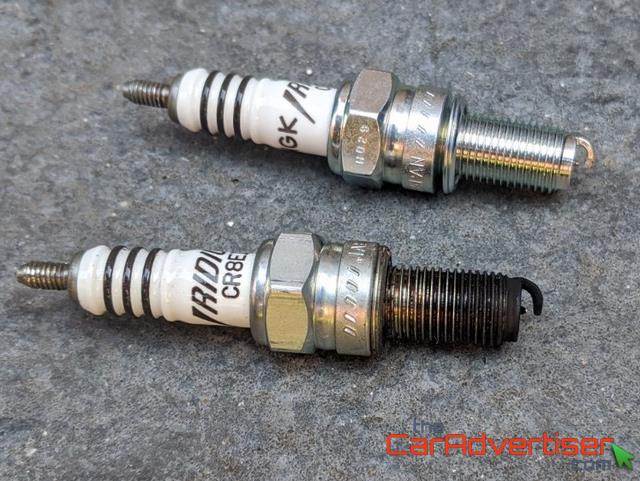
Motorcycle spark plugs should be replaced every 15000 miles (approximately 25000 km). Good condition spark plugs are necessary to ignite fuel vapour and failing to replace them in time can result in engine misfiring, the engine hard to start or intermittent stalling (especially at low revs). The photo above shows the difference between a brand new and old NGK Iridium spark plug that was used for 27000 miles.
How to replace spark plugs in a Suzuki SV650S?
How easy is it to change motorbike spark plugs?
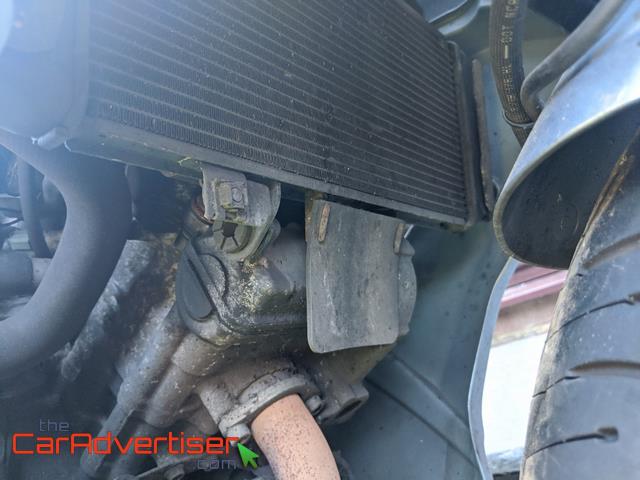
That depends on access to where they are located on the motorcycle. In case of a 2006 Suzuki SV650S it is quite difficult as the front spark plug is located behind the front radiator.
General maintenance of the motorcycle eases removal of elements as the bolts are regularly removed (and lubricated), which prevents them getting rusted and stuck.
What tools do you need to change spark plugs?
A ratchet socket set with a 16mm spark plug socket, some smaller spanners (8 and 10 mm) and allen keys (4 and 6 mm) will suffice. 2006 and earlier Suzuki SV650 and SV650S models take 2 spark plugs for the V-twin engine, like the NGK Iridium CR8EIX that cost almost £20 for the pair.
The motorcycle can be kept on its side stand for this service.
How to remove the radiator on a Suzuki SV650S?
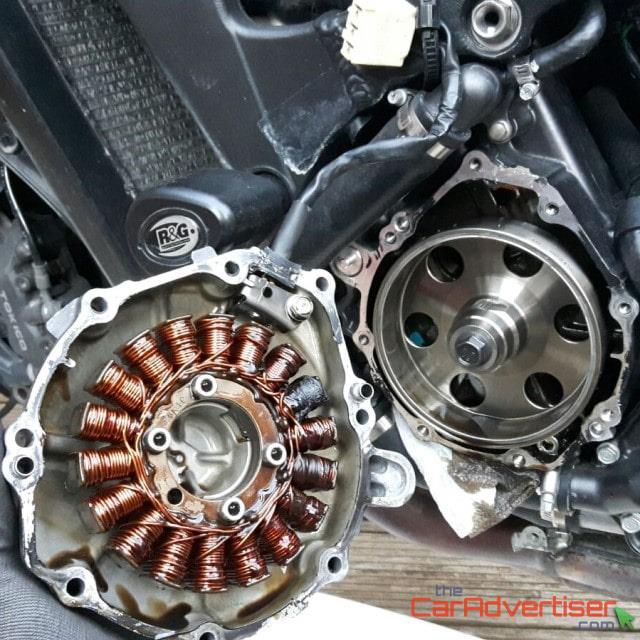
Replacing the front spark plugs can be quite challenging on this V-twin engine, so let's start with that.
Bolts can be rusted and stuck due to removal of the radiator is not required on a regular basis to service other parts of the motorcycle. The radiator is kept in place with 3 bolts: one on the top right behind the upper fairing, and two lower down held in place by the lowering side fairings.
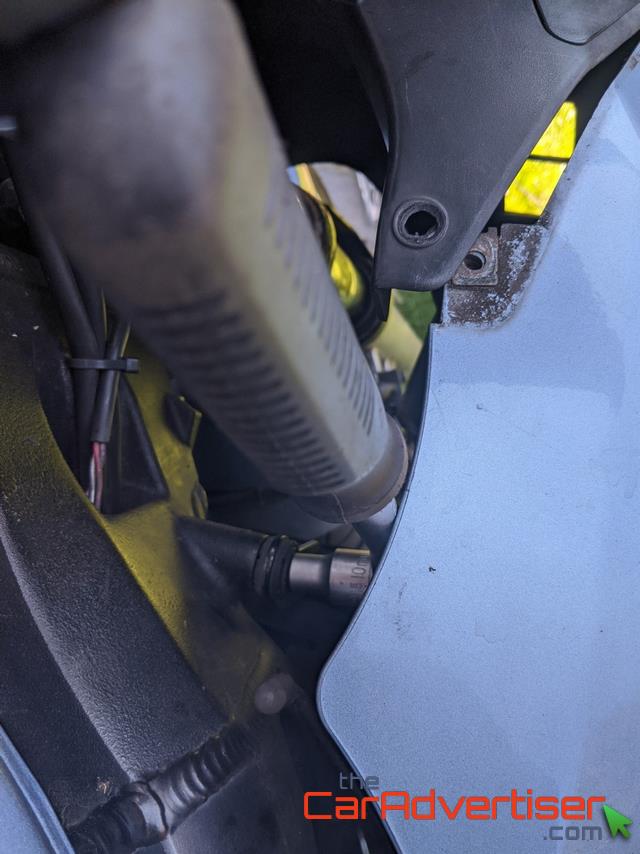
First remove two bolts of the top fairing, one from the side and the other on top as shown on the picture. This allows enough movement for a 10mm socket to reach the bolt. Do not remove it completely, just loosen it a bit to ensure the radiator is still held in place while removing the other two bottom fixings.
Note that there is no bolt on the top left side of the radiator, it is just hooked on.
The other two fixings are found on each side of lower corners of the radiator and secured to the side fairings with a U-shaped metal spacer. Try removing the bolts from the radiator itself with an 8 mm spanner (not the fairing) to allow for more movement as the spacers can get caught in the side fairings. If those bolts are stuck on either side then try removing the fixing from the side fairing, this still allows the radiator to be moved forward (with some flexing of the fairing).
When all three bolts are loosened, they can be removed and the radiator can slide off to the left from the top left fixing.
One of the most challenging part is gaining access to the front spark plug, even after removing the radiator as it remains connected by hoses and wires still restricting movement and access.
Follow the wires and hoses along as some are hooked onto the body to keep them in place. Unhooking these wires or hoses allows for some further movement of the radiator that will be just enough to reach the spark plug as shown on the photo.
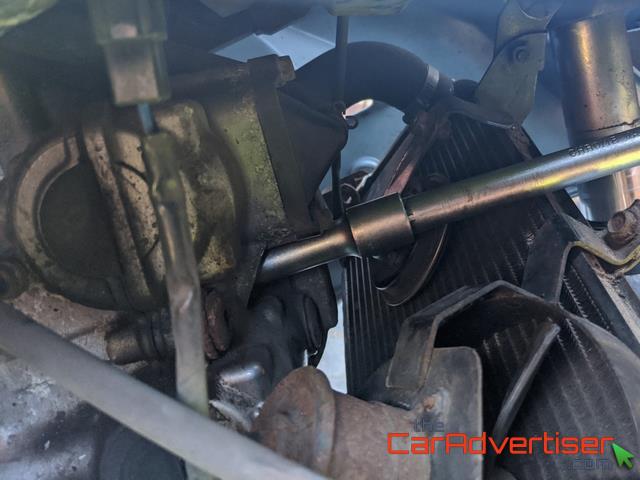
Remove the spark plug cap by hand then unscrew the spark plug with a 16 mm spark plug socket using an extension bar rotating anticlockwise.
Fit the new spark plug (do not overtighten), then push the cap back onto it.
Hook the hoses and wires back in place, then secure the radiator back in place in reverse order of removal.
Tip
Lubricate bolt threads with DW40 before refitting to prevent rusting.
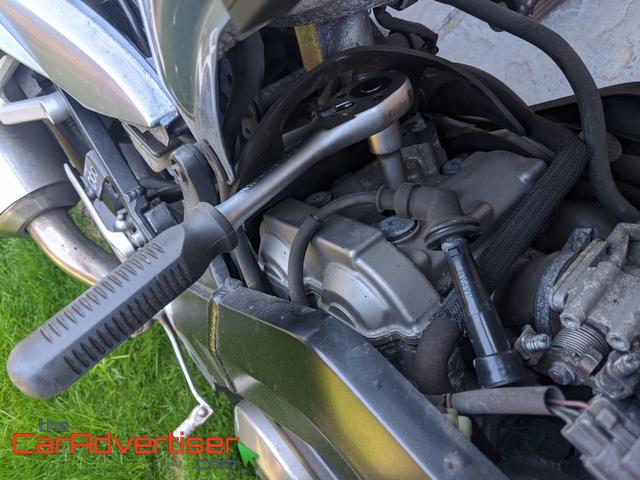
The hard part is done, let's move onto replacing the rear spark plug with the following 10 simple steps:
- Remove the seat (requires 4 and 6 mm allen keys)
- Remove the two bolts holding the tank in place with a 4 mm allen key
- Tilt the tank backward
- Unplug the spark plug cap by hand
- Unscrew the spark plug as displayed on the photo
- Fit the new spark plug (avoid overtightening)
- Push the spark plug cap back in place
- Secure the tank back in place with those 2 bolts
- Refit the seat and removed small panels
- Start the engine to test
We hope you found this article helpful and please don't forget to show your support by Sharing or Liking our site below!
Did you find this article helpful?
Help the site grow with more content to reach a wider audience while keeping it free!